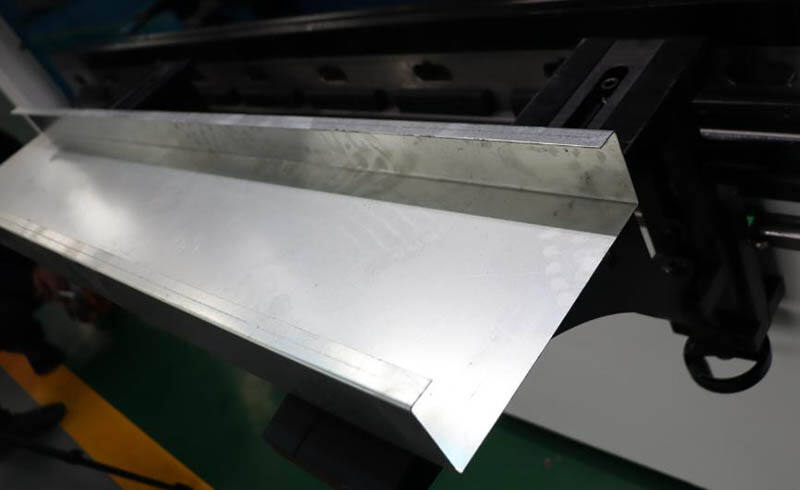
How to debug the CNC hydraulic press brake mold. Punch and down die. The whole tools.
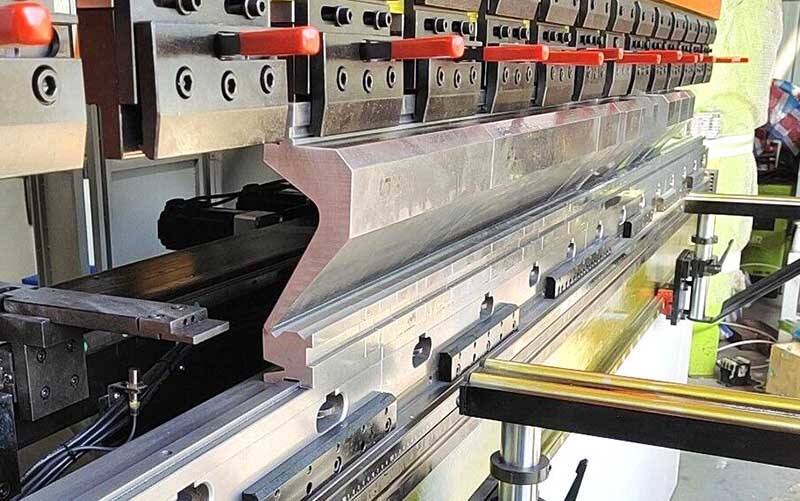
The CNC hydraulic press brake mold is composed of many parts, so special attention should be paid during installation. After completion, it should be debugged repeatedly. Machine is with special punch and blades for different shape products bending. Upper blade and punch in sections or small pcs. And down die and tools can be in small pcs and sections. Down tool can be with bottom support for adjusting. Generally, we will complete the installation and adjustment of the press brake mold in five steps.
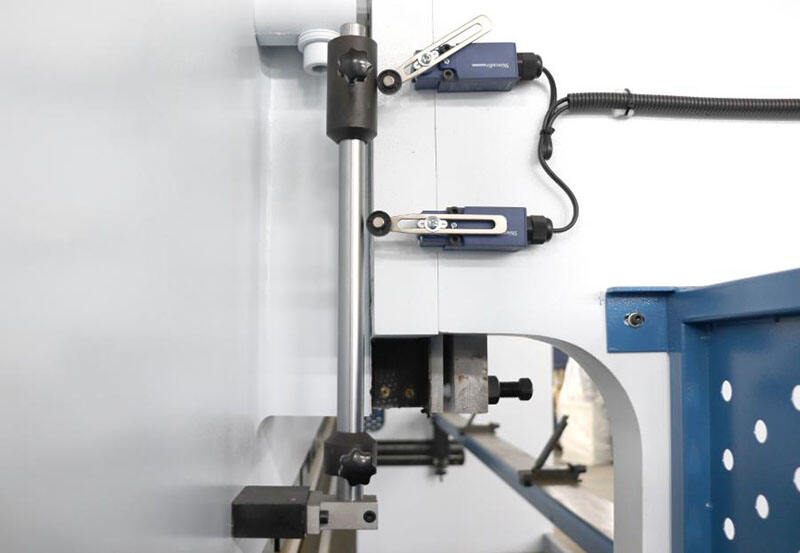
1. Adjustment of the machine. Before installation, the performance of the machine should be adjusted first. This process should be carried out patiently and carefully. Check whether the machine has dust, used iron filings, etc., and carry out necessary cleaning to reduce the trouble in the later stage.

2. Adjustment of the slider stroke. Pay attention to check the thickness of the press brake mold and whether the ratio of the upper and lower modules is normal. Under normal circumstances, the module should be controlled at the switch point of the stroke line. This must be paid attention to.
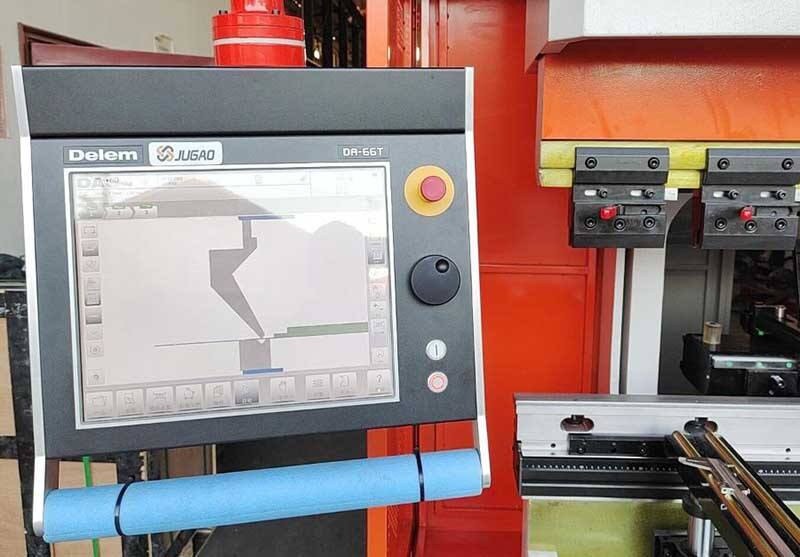
3. Adjustment of the stroke module, that is, the adjustment of the upper limit position of the module. When the module is everywhere, the switch should be set and the stop position of the slider should be reserved. At the same time, the deceleration module should be carried out when descending, so as to better protect the machine and the press brake mold.
4. The adjustment of the gap is mainly to measure the distance between the upper and lower modules. The specific gap setting should be determined according to the plate to be folded.
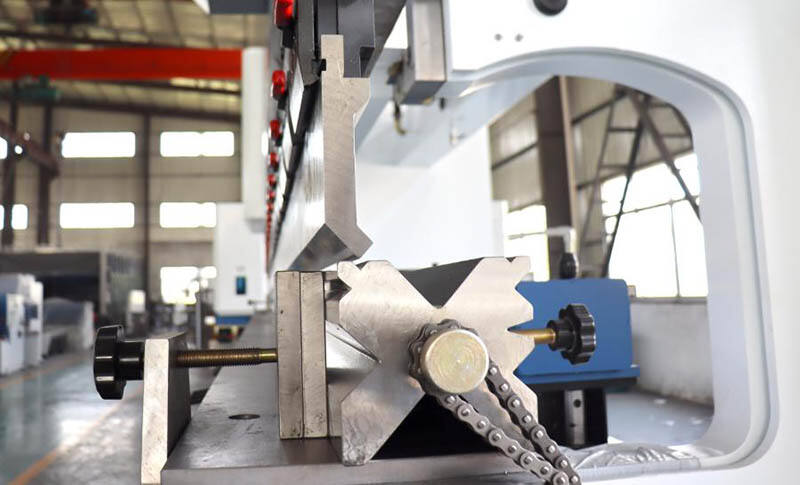
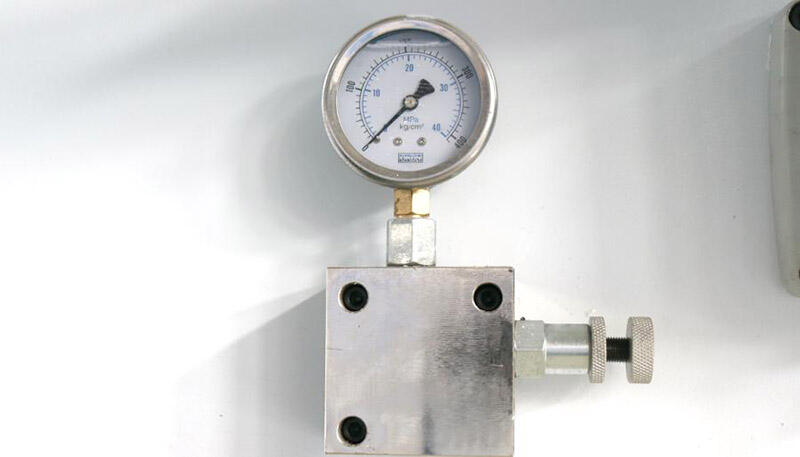
5. Angle adjustment. Angle adjustment has a certain relationship with the product. The press brake manufacturer tells you that generally speaking, when bending a 90° mold, the middle angle should be greater than the angles on both sides. Then adjust its tightness according to the adjusting screw. When bending, the pressure can be adjusted through a pressure gauge to avoid mold cracking.